Why Corn on the Cob Belongs on a Southern Table
Corn on the cob is summer food at its simplest. When ears are fresh, the kernels already contain the sweetness and moisture the dish needs; careful cooking merely warms them, softens their outer skins, and brings their aroma forward. A platter of buttered corn belongs beside barbecue, fried chicken, fresh tomatoes, green beans, and nearly every outdoor family meal.
The pleasure is in the contrast between kernels that burst with juice and butter that melts into the spaces between them. That texture disappears when corn is boiled for too long. The most reliable method therefore uses plenty of water, a brief cooking time, and visual cues instead of treating the pot like a long-simmered vegetable.
Choosing the Sweetest Ears
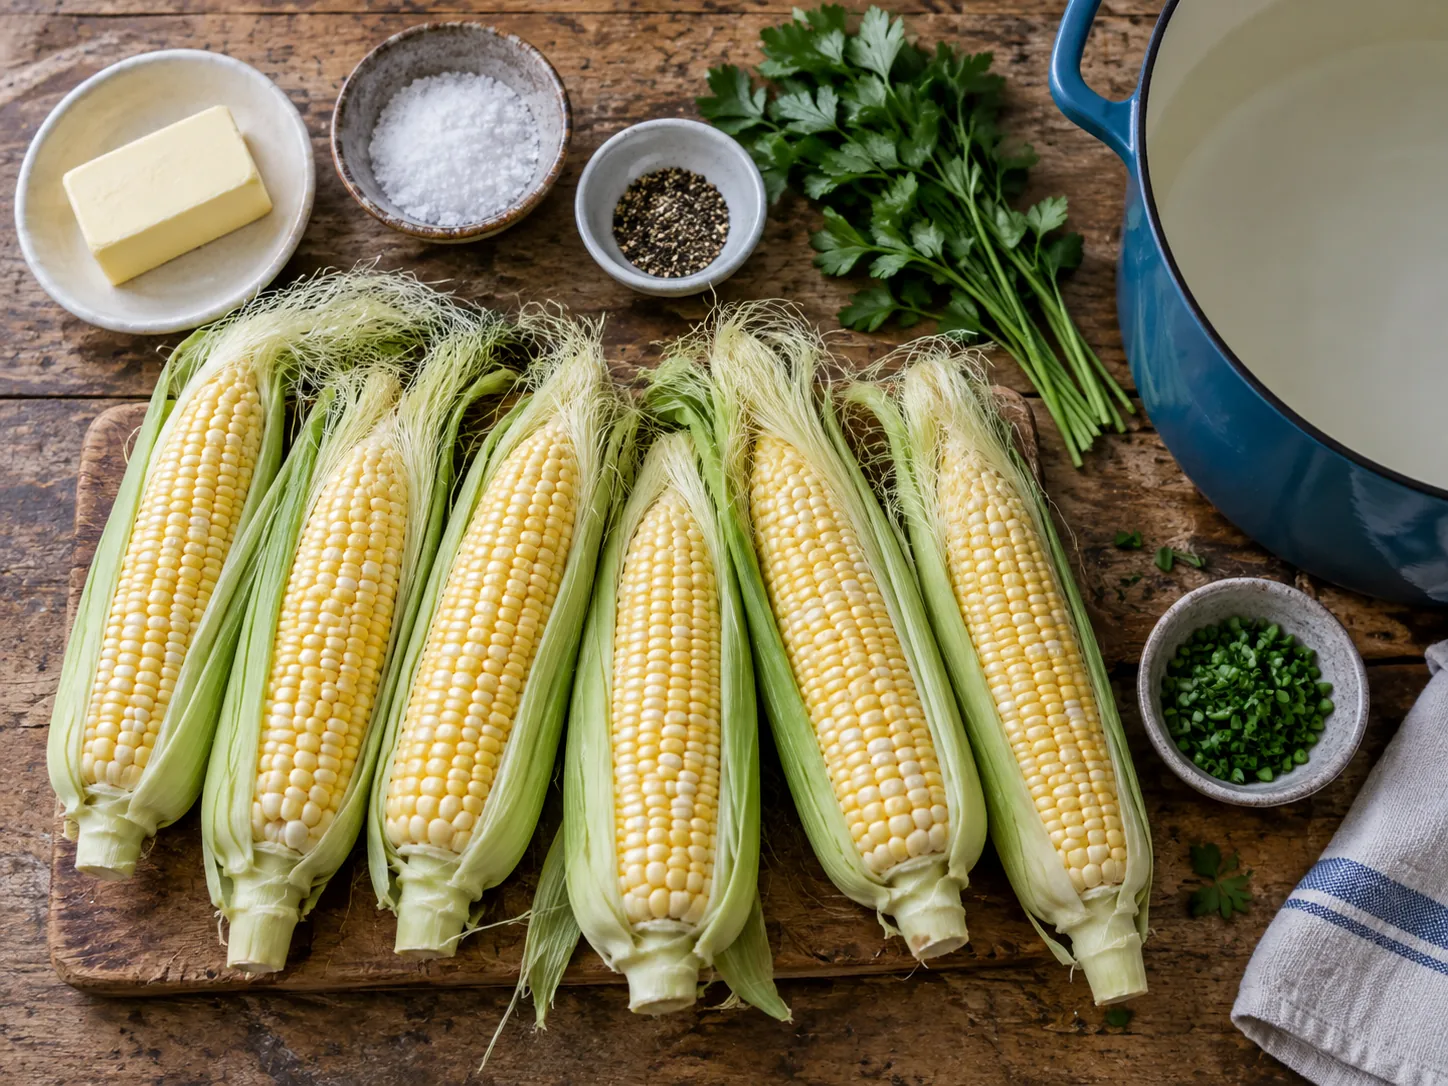
Look for husks that are bright green, snug around the cob, and still slightly damp rather than dry and papery. The silk should be pale gold to light brown and feel a little sticky. Gently run a hand along the outside: the ear should feel evenly filled all the way to the tip, without large gaps.
There is no need to peel back the husk at the market, which dries the kernels. Once home, refrigerate corn in its husk and cook it as soon as practical. Natural sugars begin converting to starch after harvest, so freshness has a bigger effect on flavor than any seasoning added later.
Why This Quick-Boil Method Works
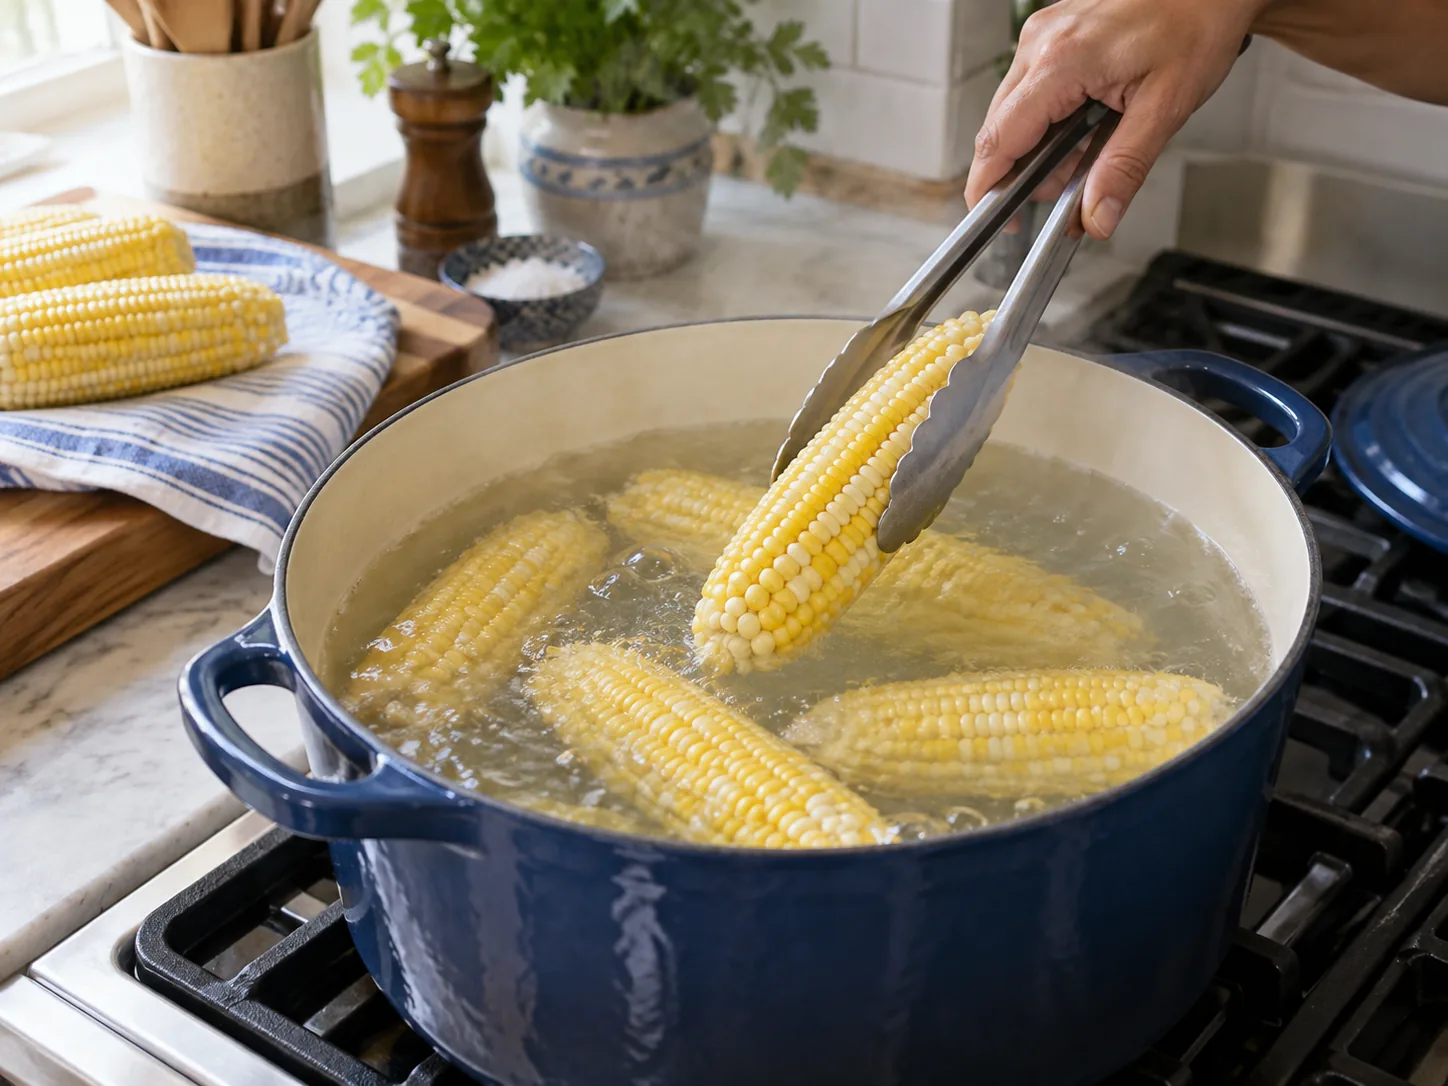
A wide pot gives the ears room to submerge without forcing them into a tight bundle. Return the water to a gentle boil after adding the corn, then start checking early. Most fresh sweet corn needs only four to six minutes. Very large or mature ears may need another minute or two, but prolonged boiling makes the kernel skins tougher.
Salt is best added after cooking. Heavily salted boiling water can slightly firm the exterior of the kernels, while butter and finishing salt distribute seasoning directly where it will be tasted. Adding sugar to the pot is unnecessary for genuinely fresh sweet corn.
What to Watch For
The corn is ready when its color looks brighter and a kernel pierced with the tip of a paring knife feels tender but still offers a slight pop. Lift the ears out promptly with tongs and let excess water drain back into the pot. Leaving cooked corn in hot water while supper comes together continues cooking it and dulls both flavor and texture.
Butter and Seasoning Notes
Softened butter coats more evenly than a cold pat sliding across the surface. Mix it with chopped parsley and chives for freshness, or keep it plain and let good corn lead. Kosher salt and freshly ground pepper are enough for the classic version. If using salted butter, taste before adding extra salt.
Serving Ideas
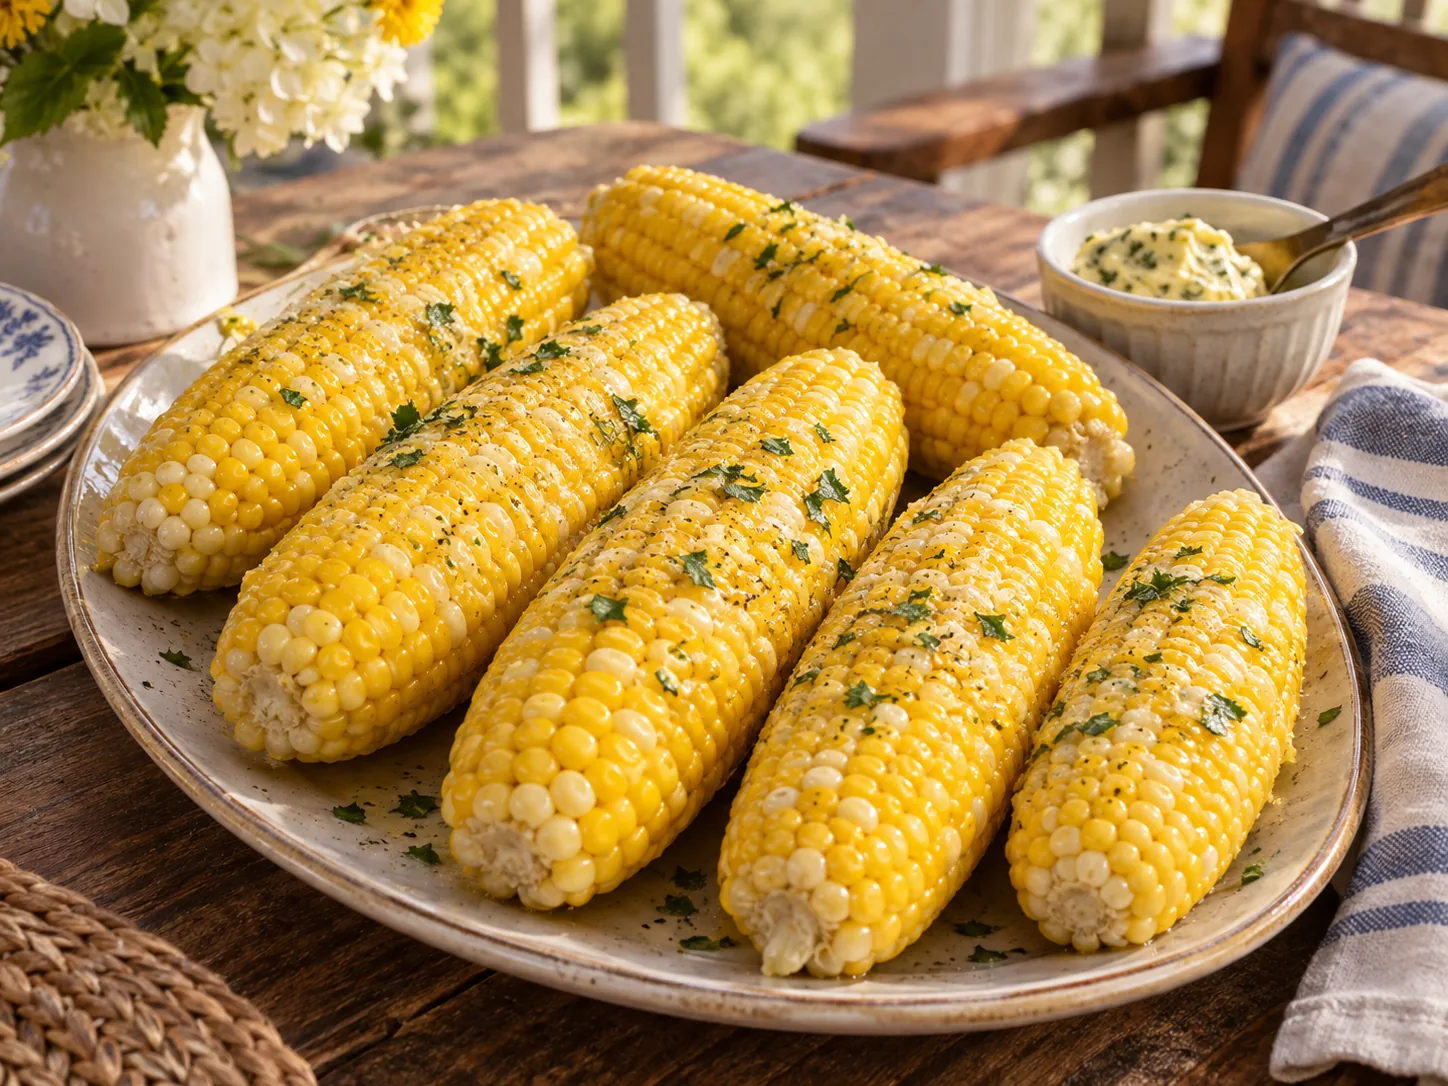
Serve the ears hot on a warmed platter with extra herb butter at the table. Corn pairs naturally with pulled pork, ribs, grilled or fried chicken, hamburgers, coleslaw, baked beans, tomato salad, and fried okra. For children or easier serving, cut each ear crosswise into two or three smaller pieces before cooking.
Make It Your Own
Add lemon zest and parsley to the butter for a bright finish, or combine butter with smoked paprika and a pinch of cayenne. Garlic butter is delicious, but cook minced garlic gently before mixing so its flavor is mellow rather than raw. Parmesan can be sprinkled on just before serving, while crumbled bacon turns the corn into a richer picnic side.
Common Corn-Cooking Problems
Tough kernels: the corn may be older or it was cooked too long. Watery flavor: the ears sat in the cooking water after becoming tender. Butter will not cling: drain and briefly blot the ears before brushing. Uneven cooking: use a wide pot and rotate floating ears once during cooking.
How to Keep Corn Warm for a Gathering
Corn tastes best straight from the pot, but it can wait briefly while the rest of the meal reaches the table. Arrange the drained ears on a warm platter, brush them with a thin layer of butter, and cover loosely with foil for no more than 20 minutes. Do not seal the platter tightly because trapped steam continues softening the kernels. For a longer delay, it is better to shuck the corn in advance and wait to cook it.
When cooking more than six ears, work in batches instead of cramming the pot. Bring the water back to a full boil between batches. The first batch can rest under loose foil while the second cooks, and the entire platter can be seasoned together just before serving.
Using Leftover Corn
Refrigerate cooled ears in a covered container for up to four days. Reheat briefly in simmering water or wrap in foil with a small dab of butter and warm in a 350°F oven. The microwave also works for a single ear when covered with a damp paper towel, though it should be heated in short intervals.
Leftover kernels are often more useful removed from the cob. Stand a cooled ear upright in a wide bowl and cut downward with a sharp knife. Fold the kernels into cornbread batter, succotash, salads, soups, fritters, or a skillet of beans and tomatoes. Scrape the back of the knife along the bare cob to collect the sweet corn “milk” for chowder or creamed corn.
Jump-to-Recipe Card
Ingredients
- 6 ears fresh sweet corn, husks and silk removed
- 4 tablespoons unsalted butter, softened
- 1/2 teaspoon kosher salt, plus more to taste
- 1/4 teaspoon freshly ground black pepper
- 1 tablespoon finely chopped parsley, optional
- 1 tablespoon finely chopped chives, optional
Instructions
- Pull away the husks and silk. Rinse the ears briefly and snap or trim the stems so they fit comfortably in the pot.
- Fill a wide stockpot about two-thirds full with water and bring it to a rolling boil. Do not add salt.
- Carefully lower in the corn with tongs. Cover briefly to help the water recover, then uncover and maintain a gentle boil.
- Cook 4 to 6 minutes, rotating floating ears once, until the kernels are bright and crisp-tender. Begin checking at 4 minutes.
- Meanwhile, stir the softened butter with salt, pepper, parsley, and chives.
- Lift the corn out immediately, drain well, and arrange it on a warm platter. Brush all sides with the seasoned butter and serve at once.
Calculate
Calculate
Calculate
Calculate
Nutrition values should be calculated from the final tested recipe quantities before publication.