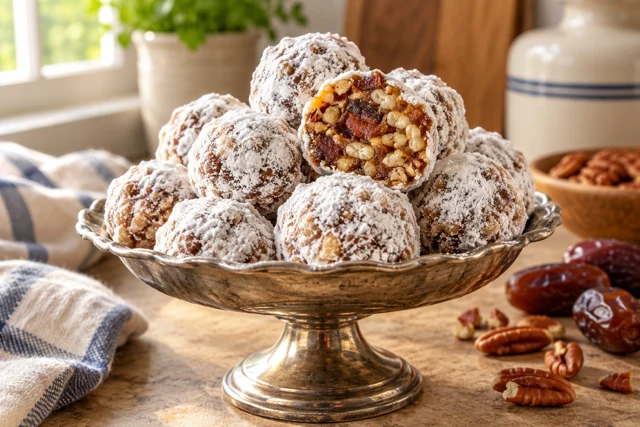
Date Nut Balls
Chewy dates, crisp rice cereal, and finely chopped pecans rolled into small powdered-sugar treats.
View recipe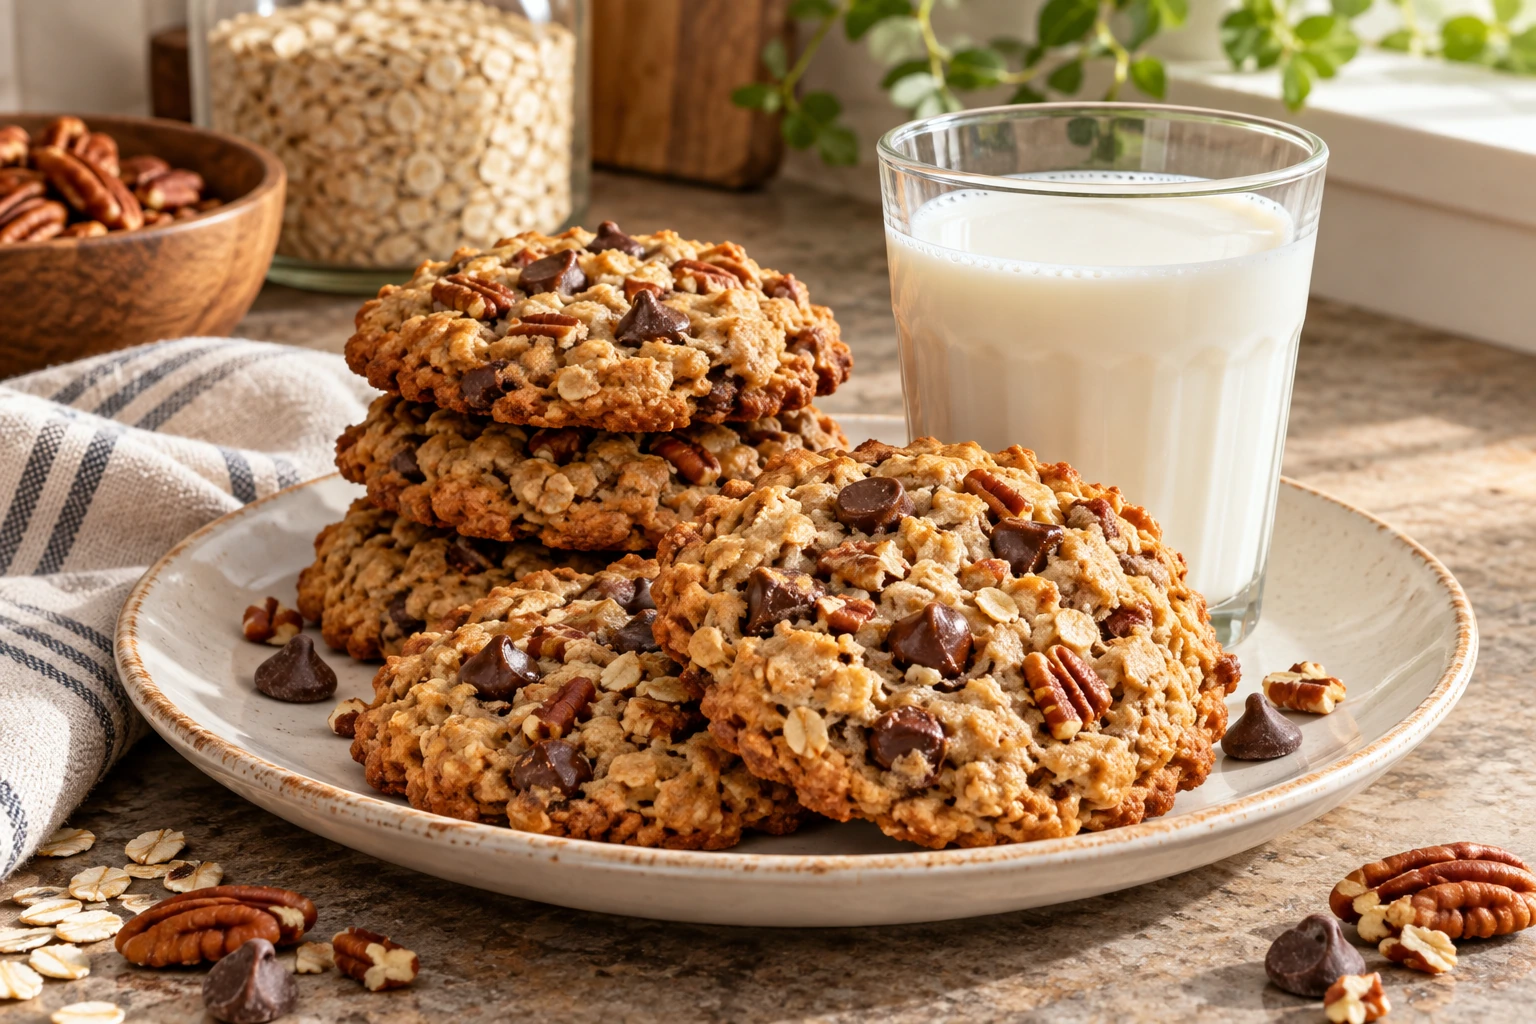
Chocolate chips, old-fashioned oats, and pecans give these drop cookies a generous, home-baked texture.
A guide adapted from a published recipe. View source & credits.
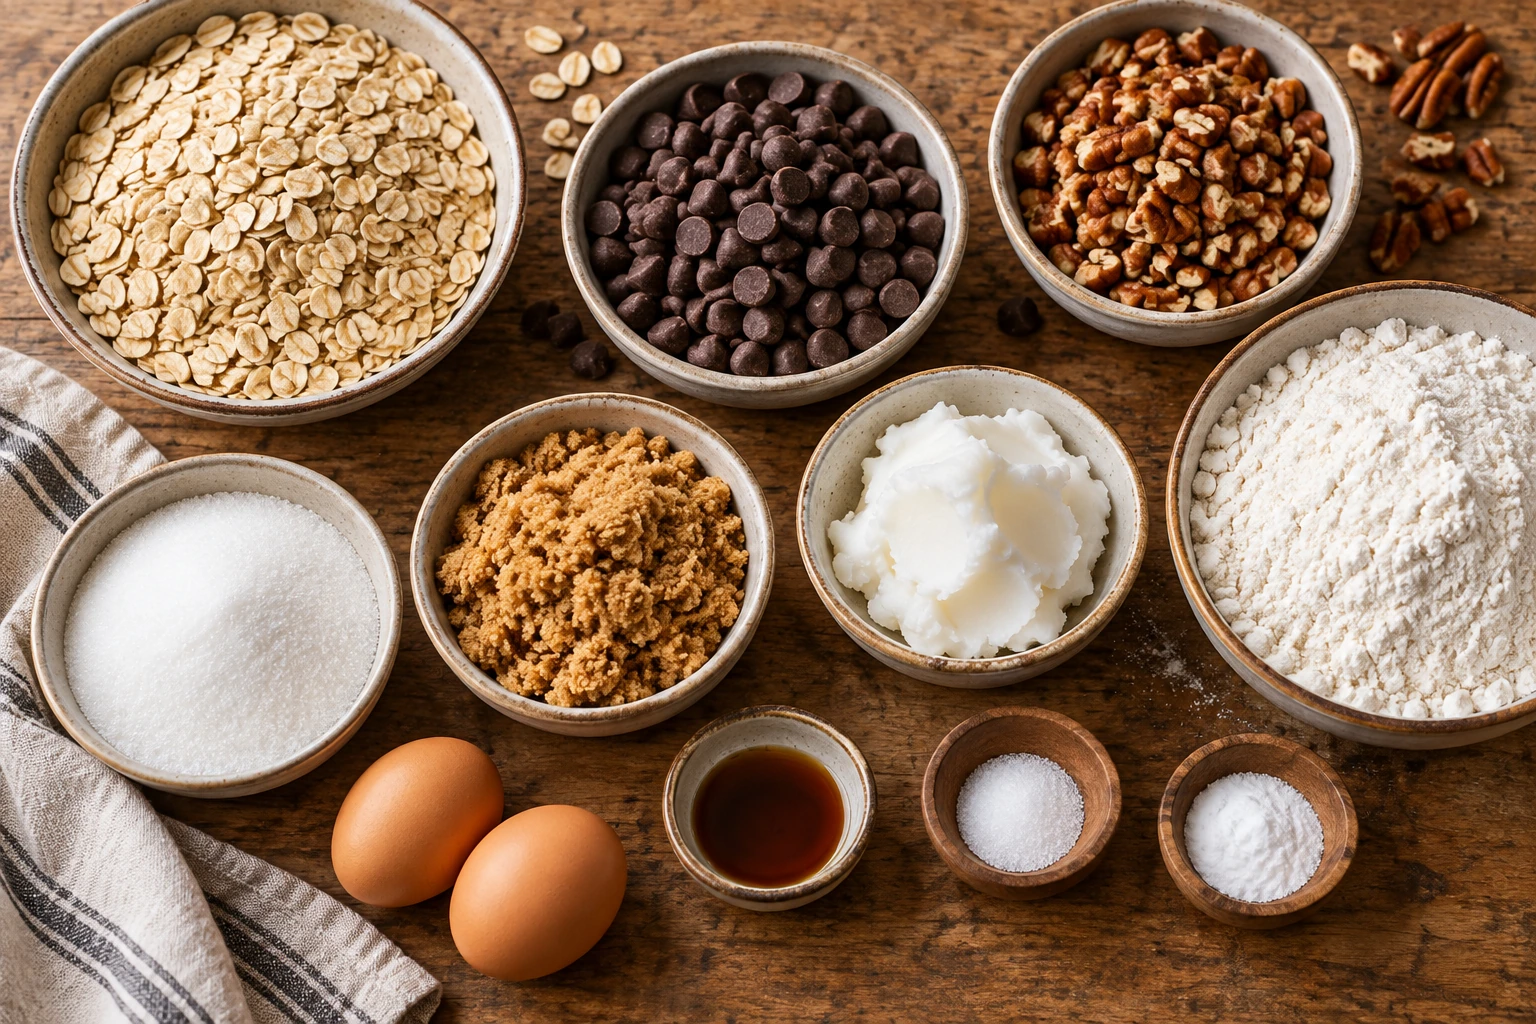
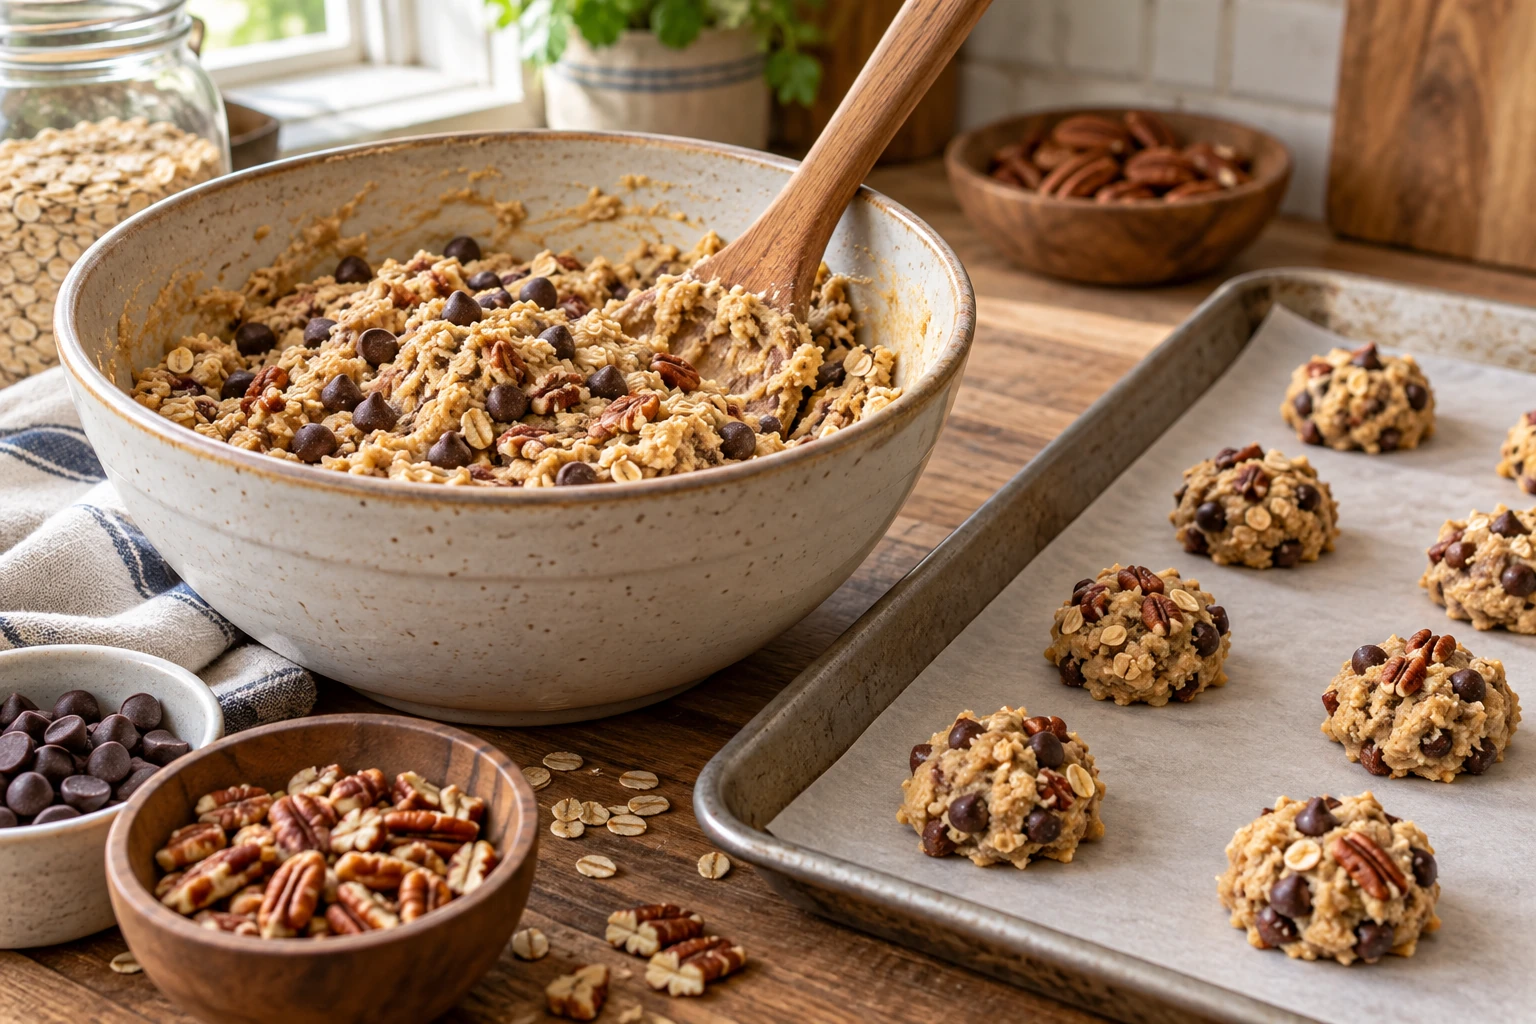
AI-generated illustrations of ingredients, preparation, and the finished dish. Tap any image to view it in full.
These are generous drop cookies with three distinct textures: chewy oats, melting chocolate, and small pieces of pecan. The dough is rich with mix-ins, so each spoonful needs to contain more than just the soft base. Mixing in stages keeps the ingredients evenly distributed without overworking the flour.
The published recipe uses shortening, not butter, and old-fashioned oats rather than quick-cooking or steel-cut oats. Keeping those ingredients as listed is the clearest way to follow this version. The short baking time is for one tray, so plan additional time if your oven can only accommodate a small part of the batch.
Sift the flour as listed, then measure without packing it firmly into the cup. Chop the pecans into fairly small pieces so they distribute through tablespoon-size cookies. Measure the oats and chocolate chips before mixing; pausing with a half-mixed dough makes it easier to lose track of an ingredient.
Use lightly greased baking sheets as directed, or baking parchment suitable for your oven temperature. Have a cooling rack ready. If using dark nonstick pans, watch the bottoms closely because they may brown faster than cookies on lighter metal sheets.
Old-fashioned oats provide a distinct chew. Instant oats absorb differently, while steel-cut oats will remain hard in this short bake.
The centers can look a little soft when the edges have set. Let the cookies finish firming on the hot sheet. Cool the sheet before loading another batch to limit excess spread.
Use the type of oats listed in the ingredients: instant and old-fashioned oats absorb moisture differently. Space dough portions so the edges can bake evenly.
Chocolate chips, old-fashioned oats, and pecans give these drop cookies a generous, home-baked texture.
Times and yields are estimates. For cookies, baking time is per tray; see the notes below.
Heat the oven to 350°F (175°C) with a rack near the center. Combine the sifted flour, baking soda, and salt in a bowl, distributing the soda evenly. Breaking up small lumps now prevents pockets of concentrated leavening in the finished cookies.
Place the shortening in a large mixing bowl. Beat at medium speed until it looks softer and a little fluffy, scraping the sides and bottom as needed. It does not need to become liquid or extremely warm. A stable, creamy texture is enough before the sugars are added.
Add the granulated and brown sugars and beat until evenly combined. Break up any firm brown-sugar lumps against the bowl. Stop and scrape down so there is no unmixed shortening hiding underneath; uneven mixing at this stage can produce cookies that spread differently on the same tray.
Beat in the eggs and the teaspoon of hot water until the mixture is uniform. Add the eggs one at a time if your mixer tends to splash. Scrape the bowl again. The mixture may not look perfectly smooth, but there should be no streaks of separate egg white.
Add the flour mixture with the mixer on low speed, or stir it in by hand. Include the vanilla and stop as soon as the flour is incorporated. Avoid continuing to beat simply to make the dough look glossy; excess mixing after flour is added can toughen the cookies.
Use a sturdy spatula to fold in the oats, chocolate chips, and chopped pecans. Lift from the bottom of the bowl so the mix-ins reach every part of the dough. Check that no dry oats or flour remain at the bottom before you begin portioning.
Drop rounded tablespoonfuls onto the prepared sheet, leaving roughly 2 inches between them. Keep portions similar in size so one tray finishes together. If you prefer larger cookies, allow more space and expect a longer bake; the listed time applies to smaller tablespoon-size portions.
Bake for 10 to 12 minutes, checking at the early end. The edges should look set and lightly colored, while the centers can remain somewhat soft. If your oven has a strong hot spot, rotate the tray once the cookies have started to set. Do not wait for the entire cookie to look hard.
Leave the cookies on the hot tray for a few minutes so they firm enough to lift without breaking. Transfer to a rack with a thin spatula. Let the sheet cool before adding the next batch of dough; a hot sheet starts melting the fat before the new cookies reach the oven.
Check that the flour amount was measured correctly and the baking sheet was cool. Warm dough can also spread faster; a brief chill may help if the kitchen is hot. Do not immediately add large quantities of flour, which can change the texture of the remaining batch.
They may have baked too long or contained too much packed flour. Remove the next tray when the edges have set, then let the hot sheet finish firming the centers. Remember that cookies become firmer as they cool.
The heavy chocolate and nuts can collect unevenly in the bowl. Fold through the dough gently between trays and portion from different areas. Keep pecans fairly small so they do not dominate individual tablespoonfuls.
Serve with milk, coffee, or tea after the chocolate has cooled enough to eat comfortably. For a gift box, cool the cookies completely before packing so trapped steam does not make them sticky. Store softer cookies separately from crisp crackers or wafers. You can freeze the finished cookies in small portions, making it easy to bring out only what you need.
Cool completely before storing airtight for 3 to 4 days. Freeze cooled cookies in layers separated with baking paper for up to 3 months.
Butter changes spread and texture. To follow this version closely, use the solid shortening listed.
The 10 to 12 minutes is per tray. Allow additional oven time if you bake several trays one after another.
Adapted from the recipe credited to Brenda Gantt by Birmingham Christian Family. Yield and prep/cooling times are estimates; baking time is per tray.
Read the published source recipe
Instructions are rewritten for this site and have not yet been kitchen-tested by our team. Technique, storage and serving notes are Brenda’s Family editorial guidance, not quotations from Brenda; ingredient quantities follow the linked source and timings are approximate.
Chewy dates, crisp rice cereal, and finely chopped pecans rolled into small powdered-sugar treats.
View recipe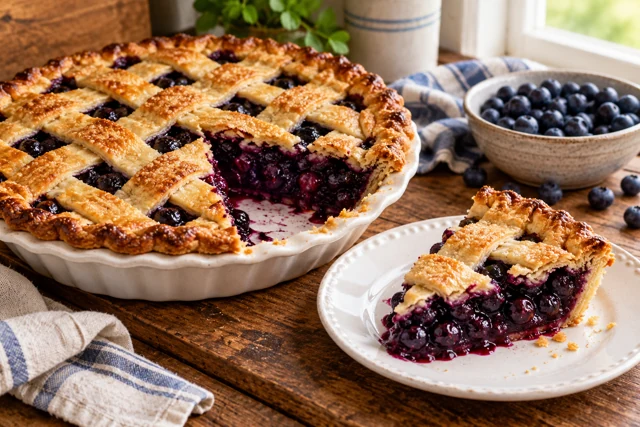
A buttery lattice crust over fresh blueberries, with a bubbling violet filling and a crisp sugared top.
View recipe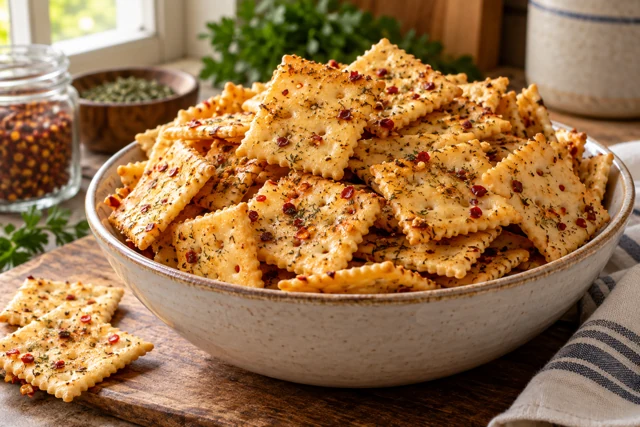
Ranch-seasoned saltines with red-pepper heat: a crisp, savory snack for soup nights and sharing bowls.
View recipe