Why Red Velvet Cake Belongs on a Southern Table
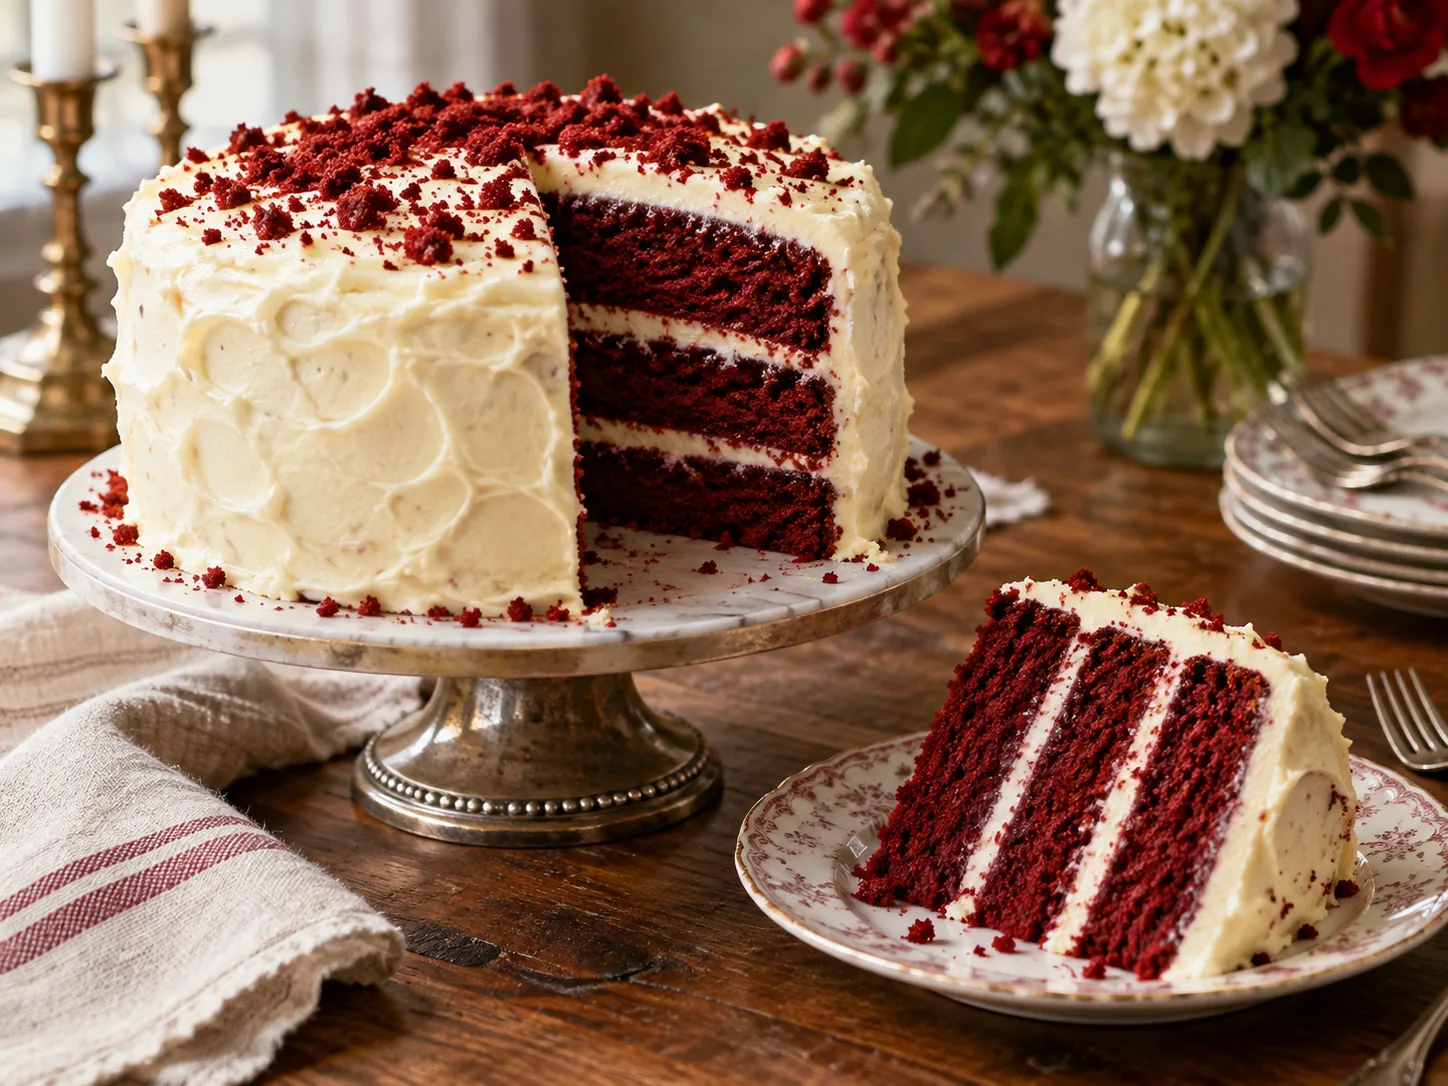
Red velvet cake is more than a red-colored chocolate cake. Its character comes from a small amount of cocoa, cultured buttermilk, vanilla, and a faint acidic brightness, all wrapped in a remarkably tender crumb. Cream cheese frosting supplies a cool tang that balances the cake’s sweetness and makes the dark red layers especially striking when cut.
It is a celebration cake, but its appeal is warmly familiar rather than formal. The dramatic color suits Christmas, Valentine’s Day, birthdays, and family gatherings, while the flavor remains gentle enough for a broad table. A successful red velvet cake should taste first of vanilla, butter, and buttermilk, with cocoa providing depth instead of dominating.
What Makes Red Velvet Different
Cocoa powder once contributed more naturally reddish tones when it reacted with acidic ingredients. Modern cocoa varies, so a modest amount of gel coloring provides consistent color without adding much liquid. Buttermilk and vinegar are not present merely for tradition: their acidity supports the baking soda and helps create the soft, fine crumb associated with velvet cake.
This version combines butter for flavor with neutral oil for lasting moisture. Creaming butter and sugar introduces small air pockets, while oil keeps the layers tender even after refrigeration. Cake flour gives the finest crumb, but properly measured all-purpose flour can be substituted.
Measuring and Mixing for a Tender Crumb
Weigh flour when possible. Scooping directly from the bag compresses it and can add enough extra flour to make the cake dry. Otherwise, loosen the flour, spoon it into the cup, and level the top. Bring eggs and buttermilk to room temperature so the batter emulsifies instead of looking curdled.
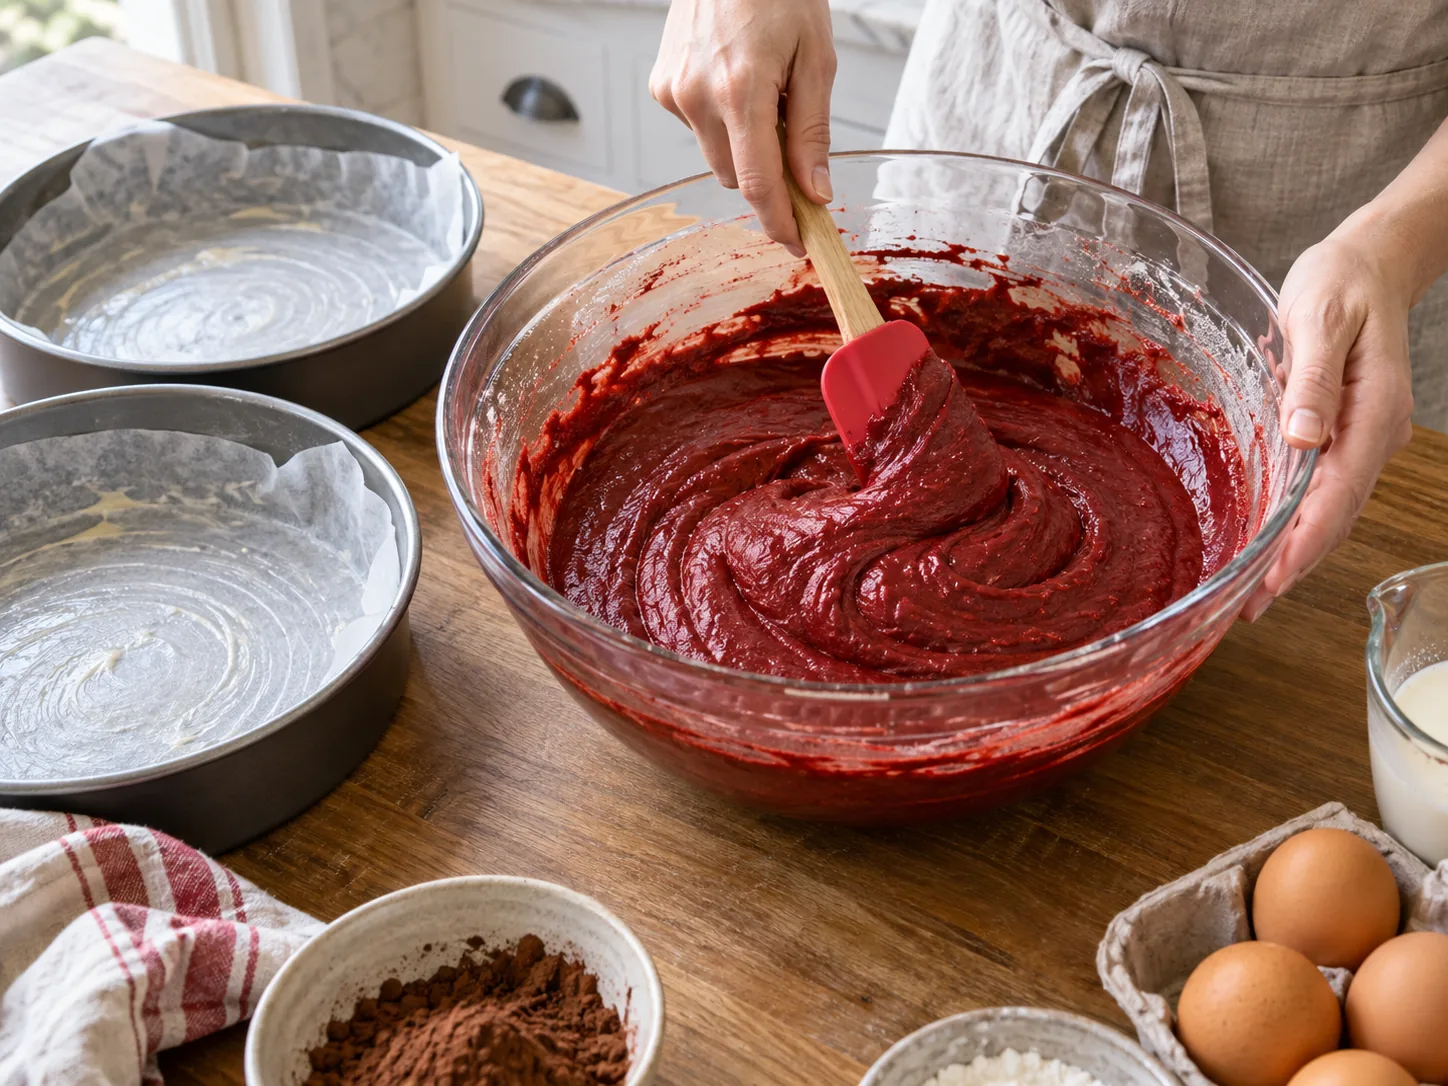
Alternate the dry mixture with buttermilk, beginning and ending with dry ingredients. Mix only until the last streaks disappear. Overmixing develops gluten and removes the delicate texture. Stir the vinegar and baking soda together only when the pans are ready, fold the lively mixture into the batter, and bake promptly.
Choosing the Right Red Color
Gel coloring creates a deeper shade with less liquid than standard grocery-store drops. Begin conservatively; the baked crumb will look slightly darker than the raw batter. The ideal color is a deep garnet or brick red, not fluorescent scarlet. Natural coloring can be used, but its final shade and reaction to heat are less predictable.
What to Watch For
Divide the batter evenly by weighing the filled pans. Uneven layers finish at different times and make the assembled cake lean. The cakes are ready when the centers spring back lightly, the edges begin pulling from the pans, and a tester carries a few moist crumbs rather than wet batter. Overbaking is the most common reason red velvet tastes dry.
Cool in the pans for 10 minutes, then turn the layers onto racks. Frosting warm cake melts the cream cheese butter mixture and can tear the crumb. For the cleanest assembly, wrap fully cooled layers and chill them for 30 minutes.
Cream Cheese Frosting That Holds Its Shape
Use block-style full-fat cream cheese rather than the soft spread sold in tubs. Beat softened butter first, add powdered sugar, and blend in cool cream cheese last. Overbeating warm cream cheese loosens the frosting. If it becomes too soft to stack, refrigerate it for 15 to 20 minutes instead of adding excessive sugar.
Serving Ideas
Serve the cake slightly cool but not refrigerator-cold, when the frosting is stable and the crumb has softened. Coffee, black tea, and cold milk pair naturally. Fresh strawberries or raspberries may be served alongside, but the classic cake needs no additional sauce.
Make It Your Own
Bake two thicker layers instead of three, or make cupcakes and begin checking them after 18 minutes. Add finely grated orange zest to the frosting for a bright variation. Keep heavy mix-ins out of the delicate batter; chopped nuts are better pressed around the frosted sides.
Common Red Velvet Cake Problems
Dry layers: too much flour or too much oven time. Brown rather than red crumb: excessive cocoa or insufficient coloring. Dense streaks: ingredients were cold or batter was undermixed near the bottom of the bowl. Sliding layers: cake or frosting was too warm. Chill both briefly before continuing.
Make-Ahead and Storage
Bake the layers one day ahead, wrap them after they cool, and keep at room temperature or freeze. The frosted cake should be refrigerated because of the cream cheese. Cover and keep for up to five days, allowing slices to stand at room temperature for 20 to 30 minutes before serving. Well-wrapped unfrosted layers freeze for up to two months.
Jump-to-Recipe Card
Ingredients
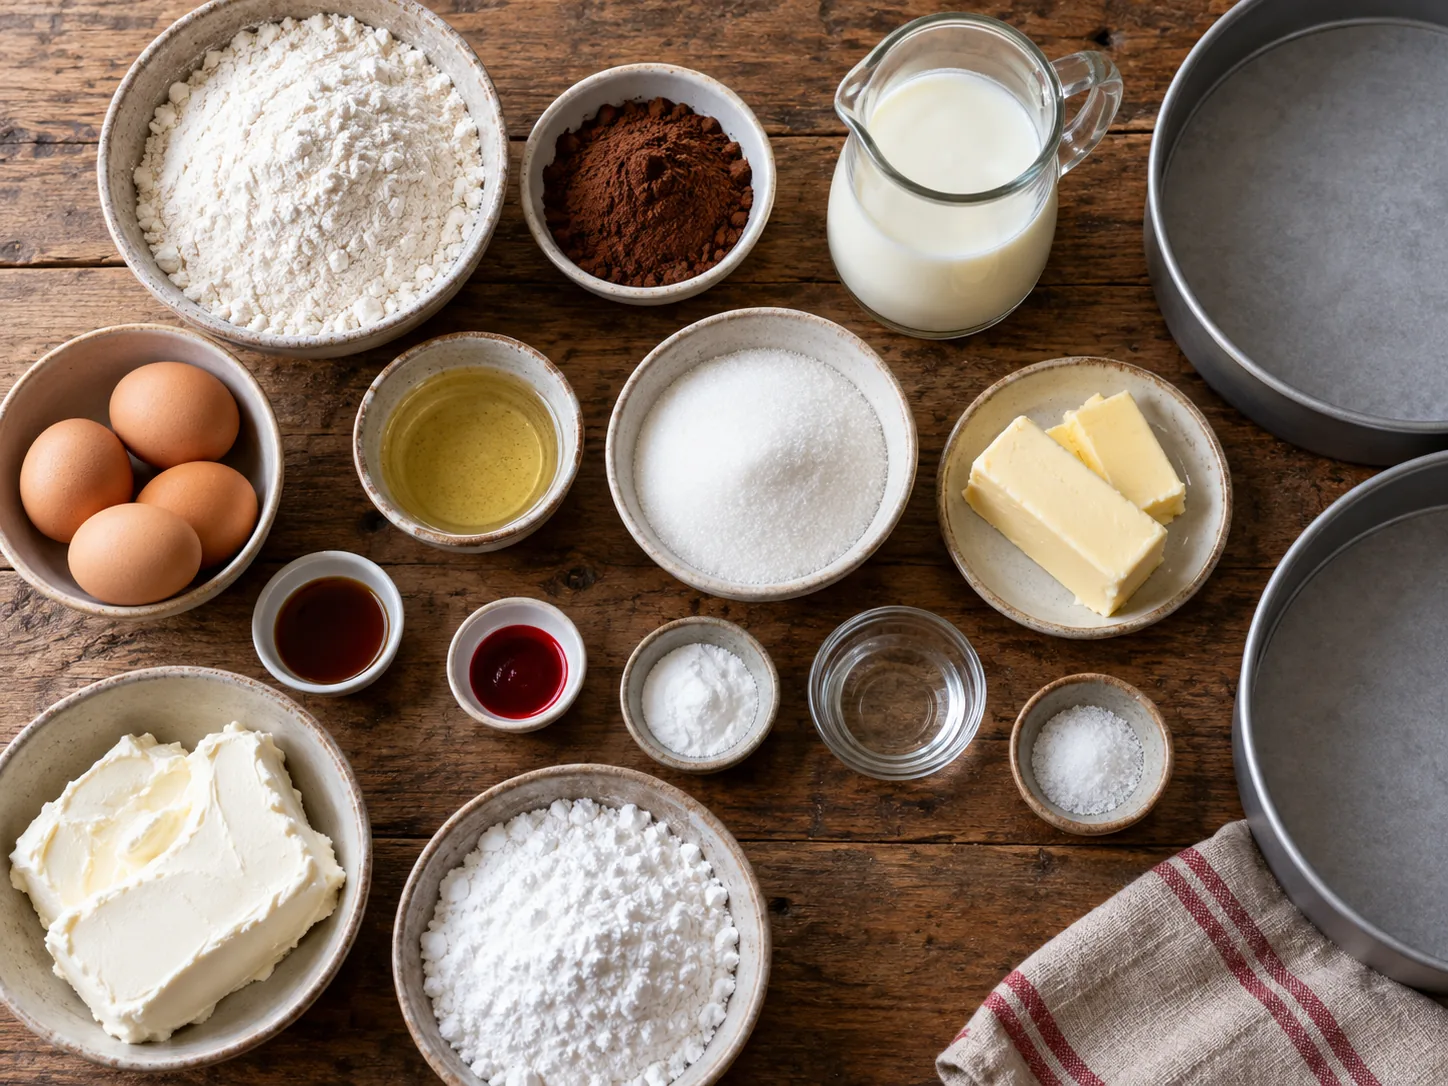
- 2 1/2 cups cake flour
- 2 tablespoons natural cocoa powder
- 1 teaspoon baking soda
- 1/2 teaspoon kosher salt
- 1/2 cup unsalted butter, softened
- 1 1/2 cups granulated sugar
- 1 cup neutral oil
- 3 large eggs, at room temperature
- 1 cup buttermilk, at room temperature
- 2 teaspoons vanilla extract
- 1 to 2 tablespoons red gel food coloring
- 1 teaspoon distilled white vinegar
- 16 ounces block cream cheese, cool
- 1 cup unsalted butter, softened, for frosting
- 4 cups powdered sugar
- 2 teaspoons vanilla extract, for frosting
Instructions
- Heat oven to 350°F. Grease three 8-inch pans, line the bottoms with parchment, then grease and lightly flour the parchment.
- Whisk cake flour, cocoa, baking soda, and salt. In another bowl, beat the 1/2 cup butter and sugar until light; gradually beat in the oil.
- Add eggs one at a time, then vanilla and coloring. On low speed, alternate dry ingredients with buttermilk, beginning and ending with dry. Mix only until combined.
- Fold in the vinegar. Divide evenly among pans and bake 22 to 28 minutes, until the centers spring back and a tester has moist crumbs.
- Cool 10 minutes in pans, turn onto racks, and cool completely. Chill briefly before frosting if the layers feel fragile.
- For frosting, beat the 1 cup butter with powdered sugar and vanilla until fluffy. Add cool cream cheese in pieces and beat only until smooth.
- Level if necessary, spread frosting between layers, then cover the top and sides. Chill 30 minutes before cutting.
Calculate
Calculate
Calculate
Calculate
Nutrition values should be calculated from the final tested recipe quantities before publication.