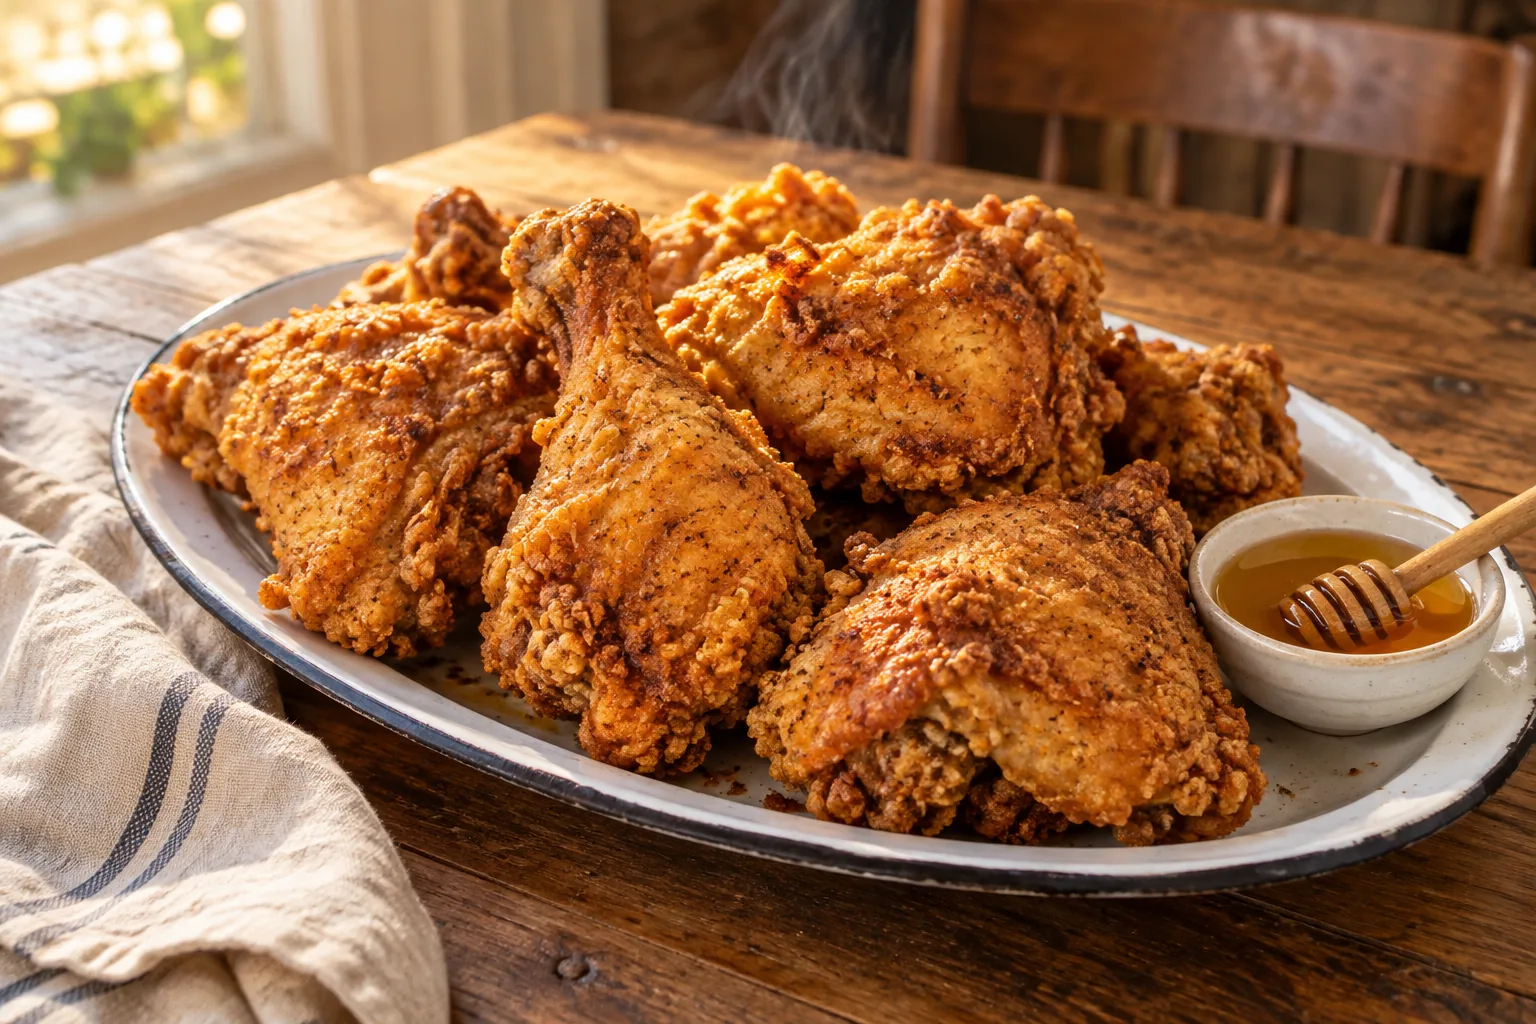
Why Southern Fried Chicken Belongs on a Southern Table
Southern fried chicken is less about complicated ingredients than control: season the meat all the way through, build a coating with texture, and maintain steady heat long enough for the center to cook before the crust becomes too dark. Done well, the first bite crackles while the meat beneath remains moist. It is celebration food, picnic food, and Sunday-supper food, but the technique is practical enough to learn at home.
This is an independent Southern-inspired Gantt Fans recipe, not an official Brenda Gantt recipe. The instructions emphasize repeatable cues—oil temperature, crust color, and internal temperature—so the cook does not have to depend on an unreliable frying time alone.
Choose Pieces That Cook at a Similar Pace
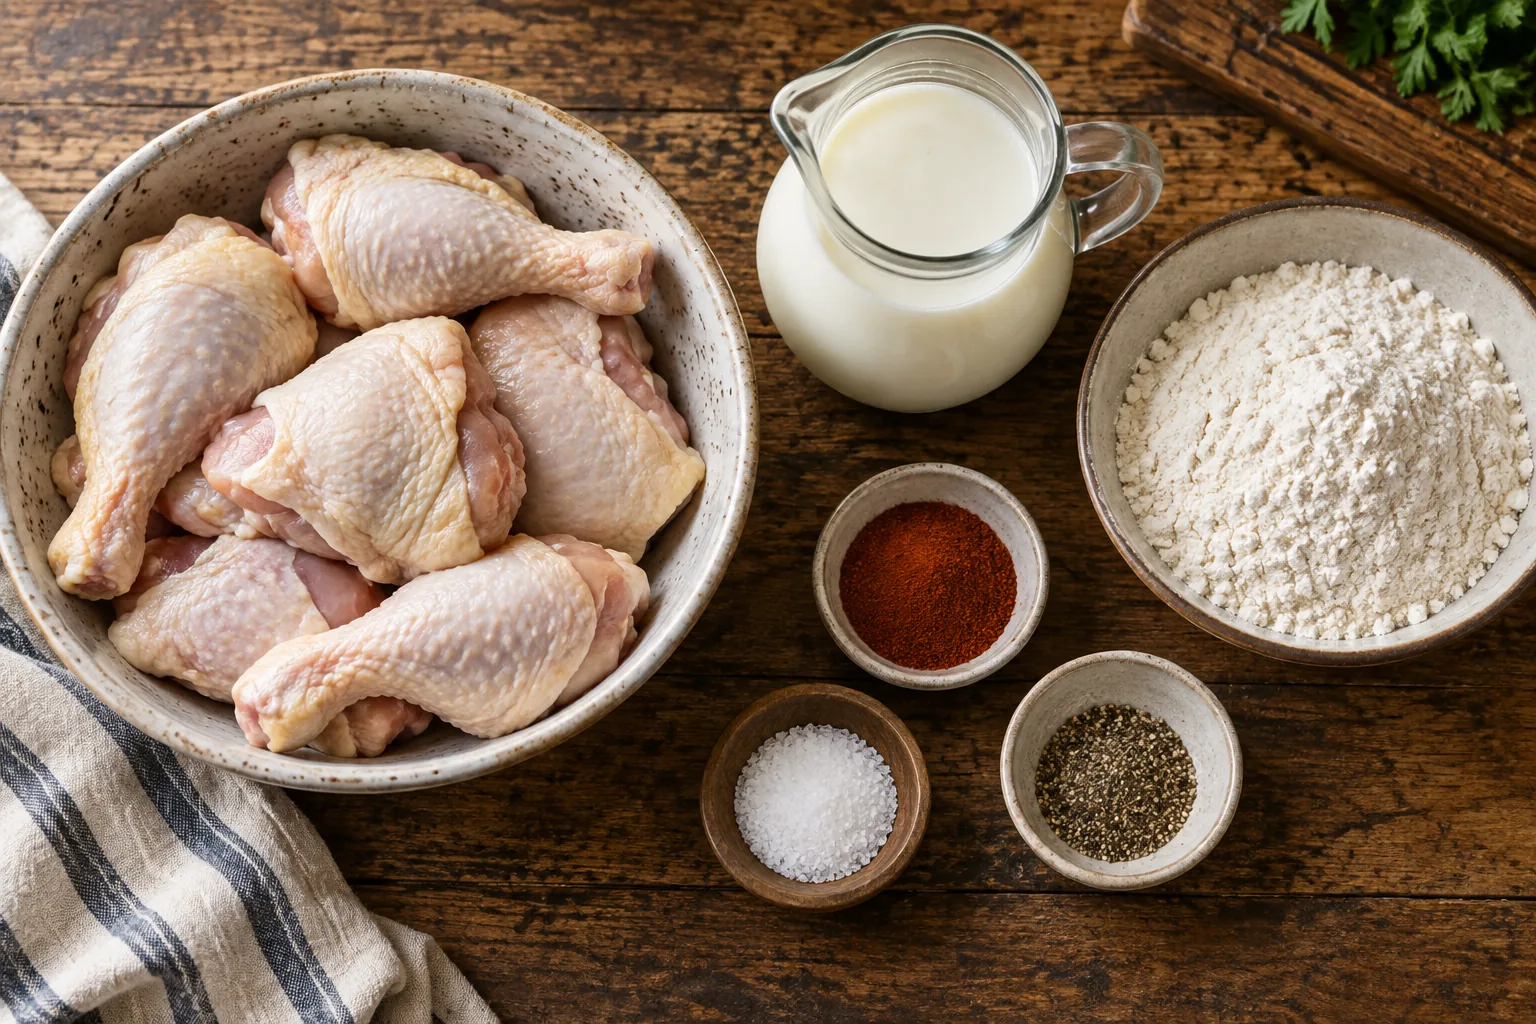
A cut-up chicken gives diners a welcome mix of breasts, thighs, drumsticks, and wings. Very large breasts should be halved crosswise so their thickness is closer to the thighs. Uniform sizing matters because a small wing can dry out while an oversized breast is still undercooked. Skin-on, bone-in pieces provide the traditional flavor and protect the meat during frying.
Pat the pieces dry before placing them in the marinade. Check that no small bone fragments remain from processing. Raw chicken should stay refrigerated, and the used buttermilk must be discarded rather than reused as a sauce.
What the Buttermilk Marinade Does
Cultured buttermilk gently seasons and tenderizes the surface while giving flour something to cling to. Combine it with part of the salt, pepper, paprika, and garlic powder, then turn every piece until coated. Cover and refrigerate for at least two hours or up to overnight. Longer is not always better; after about 24 hours the outside can become overly soft.
Take the chicken from the refrigerator about 20 minutes before coating, but do not leave it at room temperature for an extended period. Let excess marinade drip away without wiping the pieces dry. The thin film that remains creates rough little clumps when it meets seasoned flour.
Build a Crust With Real Texture
All-purpose flour supplies structure and cornstarch makes the coating lighter and crisper. Whisk them with the remaining seasonings in a wide shallow pan. Taste cannot be judged safely after raw chicken touches the mixture, so season the flour first. Cayenne is optional; it adds background warmth rather than overwhelming heat at the listed quantity.
Press flour firmly over each piece, including folds around joints, then shake off only the loose excess. For a craggier finish, drizzle two tablespoons of clean buttermilk into the flour and toss with a fork before dredging. The tiny damp clumps become crunchy ridges. Rest coated chicken on a rack for ten minutes so the flour hydrates and adheres instead of floating off in the oil.
Select the Pan and Oil
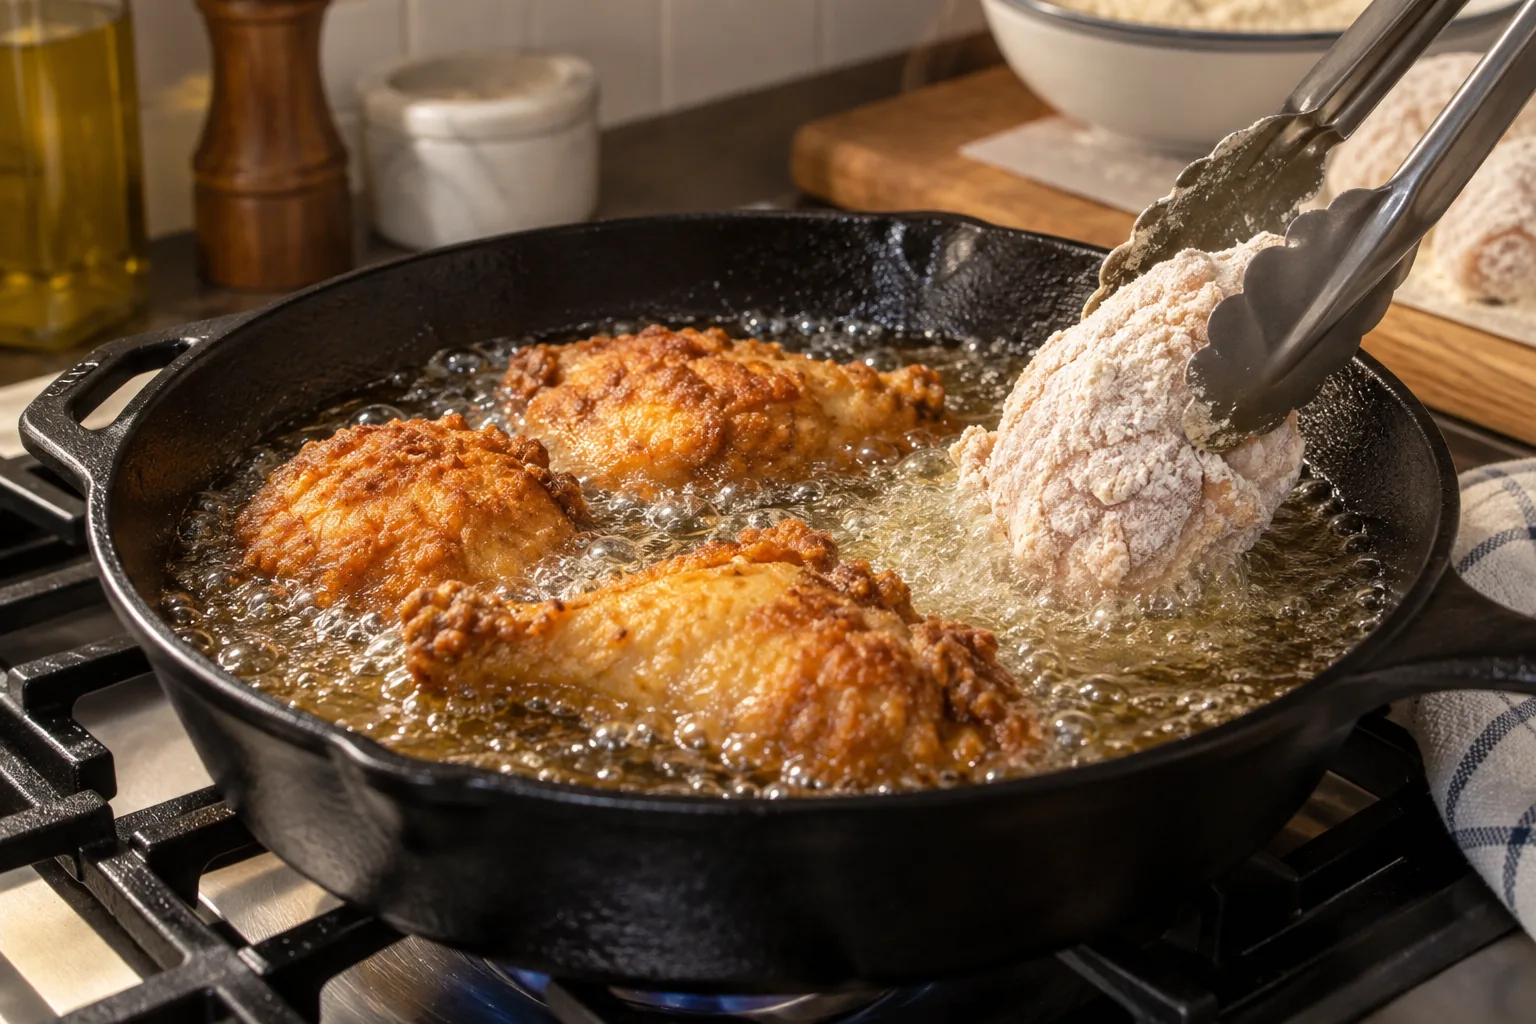
A deep cast-iron skillet or heavy Dutch oven holds temperature better than a thin pan. Add about 1 1/2 inches of neutral, high-smoke-point oil such as peanut, canola, or vegetable oil. The vessel should remain less than half full after the chicken is added, leaving space for bubbling and reducing the risk of overflow.
Clip a frying thermometer to the side without letting its tip touch the bottom. Heat to 350°F before the first batch. Never leave hot oil unattended, keep water away from the stove, turn pan handles inward, and have a lid nearby. If oil ever ignites, turn off the heat and cover the pan—never use water.
Keep the Oil Between 325°F and 350°F
Adding cold chicken drops the oil temperature. Place pieces carefully away from you, skin side down, without crowding. Adjust the burner to keep the oil mainly between 325°F and 350°F. Below that range the crust absorbs oil; far above it the coating burns before the meat is safe. Fry in batches even if it takes longer.
Turn pieces with tongs every few minutes for even color, avoiding forks that puncture the meat. Wings may finish in about 8 to 10 minutes, drumsticks and thighs often need 12 to 16, and thick breast pieces may take 14 to 18. These are guides, not guarantees. Transfer each piece only when its thickest part reaches at least 165°F without the thermometer touching bone.
Drain on a Rack, Not Paper Towels
Set finished chicken on a wire rack over a rimmed sheet pan. Air circulation keeps the underside crisp; paper towels trap steam and can soften the crust. Sprinkle lightly with salt while hot if needed. Hold completed batches in a 250°F oven for up to 30 minutes, leaving them uncovered so moisture does not collect.
Let the chicken rest about ten minutes before serving. Juices settle, the internal temperature evens out, and the crust becomes easier to bite without sliding away. Fried chicken is also excellent at room temperature, but follow the two-hour safety limit outside refrigeration.
Common Fried Chicken Problems
If breading falls off, excess marinade may have remained, the coating did not rest, or pieces were moved too soon. Pale greasy crust signals cool oil; a dark exterior with raw meat signals excessive heat or pieces that are too large. Black specks between batches are burned flour crumbs. Skim them with a fine metal strainer before adding more chicken.
A crust that tastes bland usually means the marinade and flour were not both seasoned. Salt cannot penetrate deeply when added only after frying. If the skin is rubbery beneath a crisp shell, the oil temperature likely fell for too long. A thermometer and smaller batches solve most consistency problems.
Serving Ideas
Serve hot chicken with coleslaw, collard greens, macaroni and cheese, mashed potatoes, green beans, biscuits, or cornbread. Pickles and a vinegar-bright slaw cut through the richness especially well. For a picnic, cool the chicken before packing so trapped steam does not soften the coating.
Make It Your Own
Add dried thyme, onion powder, or more cayenne to the flour, but preserve the salt and flour-to-cornstarch balance. Boneless pieces cook faster and need close temperature checks. This same coating can be used for tenders, though they should be fried separately from bone-in pieces so everything finishes evenly.
Storage and Reheating
Refrigerate cooled leftovers in a shallow covered container within two hours and use within four days. Reheat on a rack at 375°F until hot and crisp, generally 12 to 18 minutes depending on size; the center should again reach 165°F. An air fryer also works well. Microwaving is safe when heated through but makes the crust soft.
Strain completely cooled frying oil through a fine filter only if it stayed clean and did not smoke. Store it sealed and discard it when dark, sticky, foamy, or unpleasant-smelling. Never pour cooking oil down a drain.
Jump-to-Recipe Card
Ingredients
- 3 lb bone-in, skin-on chicken pieces, large breasts halved
- 2 cups buttermilk
- 2 teaspoons kosher salt, divided
- 1 teaspoon black pepper, divided
- 2 teaspoons paprika
- 1 teaspoon garlic powder
- 2 cups all-purpose flour
- 1/2 cup cornstarch
- 1/2 teaspoon cayenne pepper, optional
- Neutral high-heat frying oil, as needed
Instructions
- Combine chicken, buttermilk, half the salt, pepper, paprika, and garlic powder. Cover and refrigerate at least 2 hours or overnight.
- Heat 1 1/2 inches of oil in a heavy skillet or Dutch oven to 350°F.
- Whisk flour, cornstarch, cayenne, and remaining seasonings. Let excess marinade drip from chicken, then press each piece firmly into the flour mixture.
- Rest coated pieces on a rack for 10 minutes so the breading adheres.
- Fry in uncrowded batches, turning periodically and maintaining 325°F to 350°F, until golden and the thickest part reaches 165°F.
- Drain on a wire rack, hold uncovered in a 250°F oven if needed, and rest 10 minutes before serving.
Calculate
Calculate
Calculate
Calculate
Nutrition values should be calculated from the final tested recipe quantities before publication.